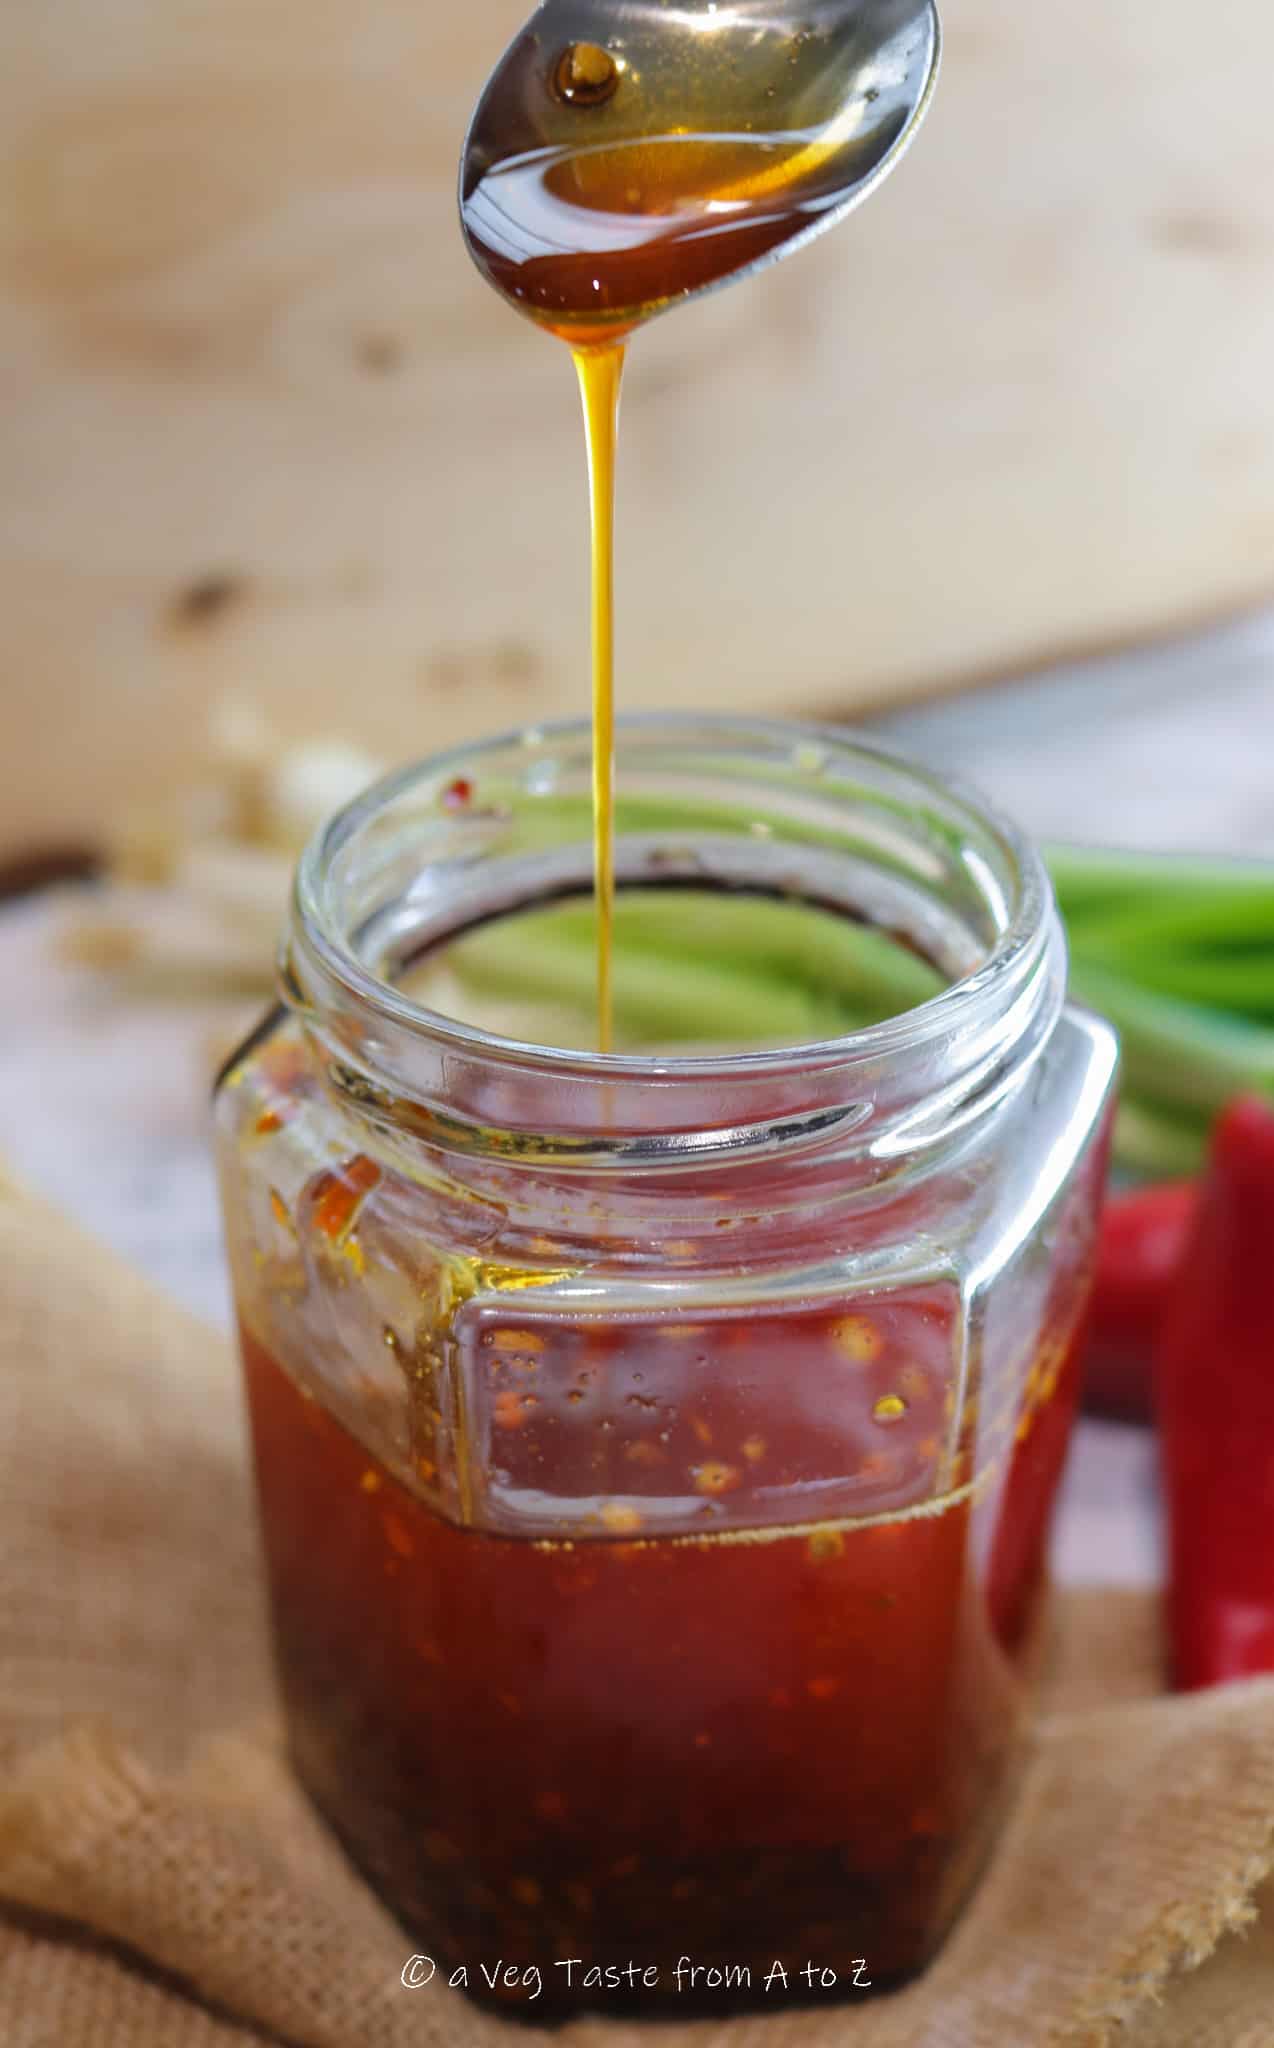
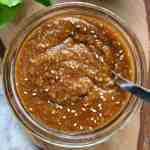
Chinese Chilli Oil from scratch
Questa ricetta è disponibile anche in italiano
If you want to make Chinese Chilli Oil like a pro you’ve come to the right place. Making it from scratch at home not only will save you lots of money, but will also give you the opportunity to tailor it to your own taste and needs by controlling the level of spice and depth of it.

People might overestimate its preparation, thinking that it’s just too elaborate and time consuming to produce.
Well I’m here to prove you wrong, and make you discover how actually simple, fuss free and straightforward it is to put together.
And, believe me, once you’ve tried your homemade version, you will NEVER go back to the store bought alternatives. You just won’t do that to your palate.
This is how I ended up making my own really. It all started a few years back, out of utter curiosity, then I went back to buying a ready made version and I just couldn’t enjoy it. I found it – don’t know how to best describe it – quite plain-ish and souless. If you know what I mean.
So be ready to change your all food experience and be warned that you might ended up needing this recipe in the future, so make sure to print it out.
Also, PLEASE, DO QUOTE this page or the blog on social media if you make this or any other recipe. Unless otherwise stated in the post, the recipes I share are all fruit of my tried and tested attempts. Before publishing one recipe for you to nail at the first time, I go through different stages, where I do use (and unfortunately waste) lots of ingredients and tools.
There are so, so, so many people and (unfortunately) even big blogs that have been literally stealing my recipes without having the decency to at least quote where they took inspo from.
I indeed worked hard to find which author I got the inspiration of this chilli oil recipe a few years back (as I had it written on my notebook) and that is the amazing Wei from redhousespice.com
So, please, give authors the credits, ALWAYS. Thanks.
...Back to the recipe
You’ll only need:
1 Pyrex Bowl
1 Pan or Small Pot
1 Strainer
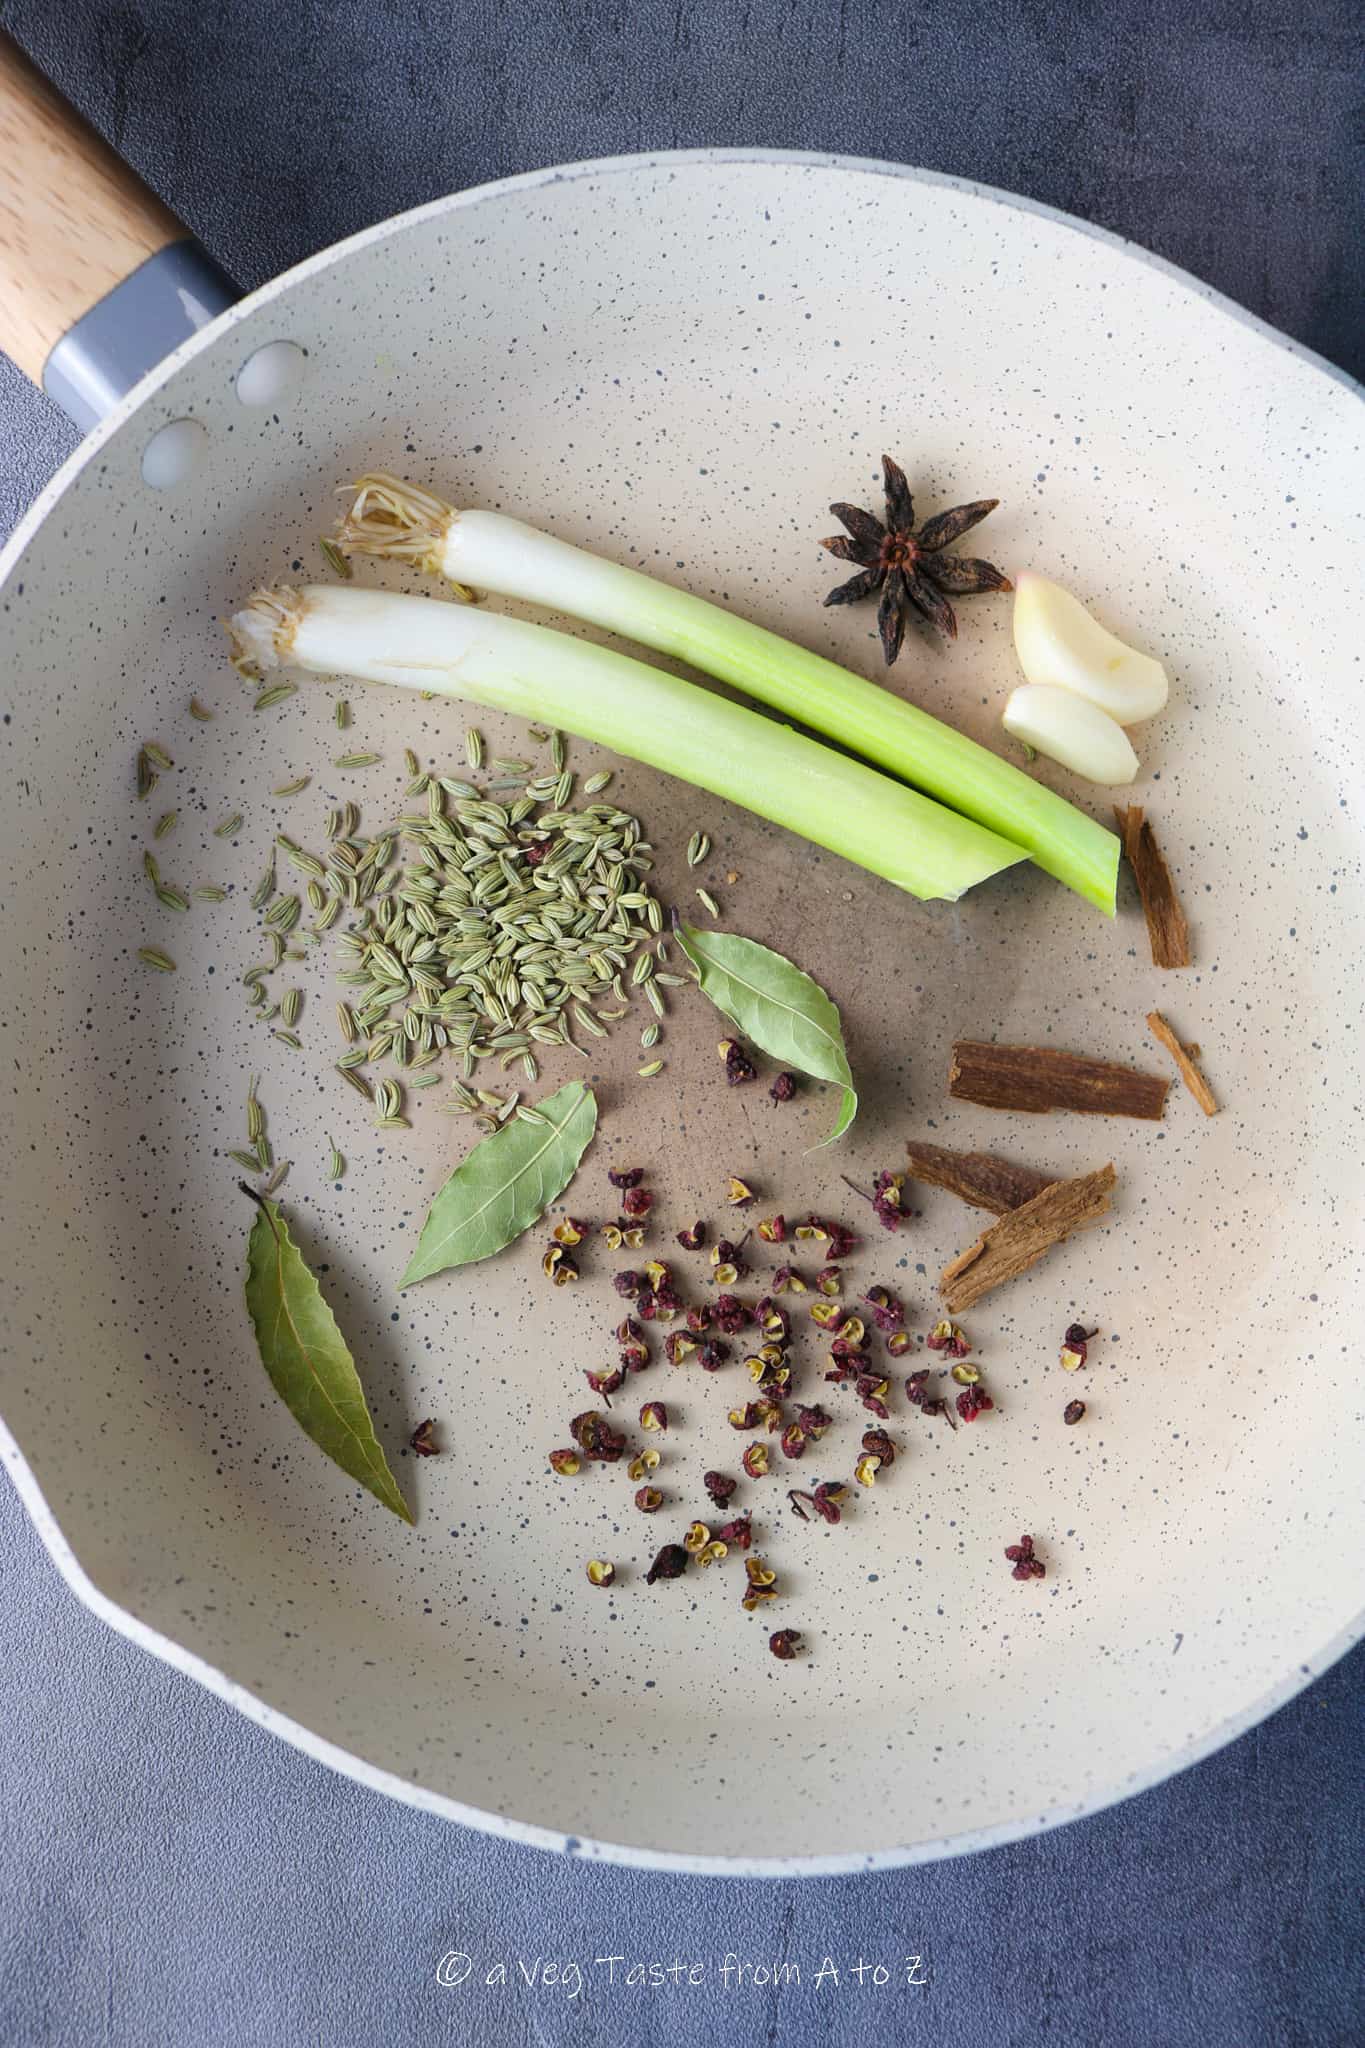
And a bunch of ingredients that you can easily find in any shop all around the world, such as:
Vegetable Oil
Spring Onions (aka Scallions or Green Onions)
Chilli Flakes
Ground Chilli
Bay Leaves
Fennel Seeds
Star Anise
Cinnamon
Ginger (fresh or powdered)
And only 1 (key) ingredient that you can buy online or purchase at your closest Chinese/Asian shop: Sichuan Peppercorn.
We use this chilli oil in so many preparations, such as Asian-inspired broths like ramen or miso soups, or dishes like dumpling soup, Chinese wontons (recipe coming soon), Tofu or Noodles. And, indeed, even on Pizza! It just makes everything better, with its umami-like taste. You have to try it!

Chinese Chilli Oil From Scratch
Ingredients:
...for the dry mix...
25 g Chilli Flakes
1 tablespoon Ground Chilli
½ teaspoon Ginger Powder* (omit if using fresh ginger)
½ teaspoon Sea Salt
...for the flavoured oil...
250 g Vegetable Oil
3 Slices Fresh Ginger* (omit if using powder)
2-3 Bay Leaves (depending on size)
2 Garlic Cloves (crushed)
2 Spring Onions (aka green onions or scallions - stalks)
1 Piece Cinnamon (small piece of bark)
1 Star Anise
1 teaspoon Sichuan Peppercorn
1 teaspoon Fennel Seeds
Method:
1. Gather all the ingredients for the dry mix and combine them in a heat proof bowl.

2. In a pan pour the vegetable oil and all the spices and aromatics. Simmer over low heat until the green onions are well caramelized (this step might between 15 to 25 minutes, do not be temped to turn on the heat, as you will end up with burnt flavour as opposed as an aromatic infused oil).

3. Place a fine strainer over the bowl with the dry ingredients, and pour over the hot oil. Be careful as the dry ingredients might start bubbling quite intensively due to the temperature shock. This is exactly what we are looking for.
4. Remove the strainer and stir the mixture well with a clean spoon, then allow it to cool down completely uncovered.
5. Transfer to a mason jar or clean glass pot, pop the lid on and allow to infuse for 24 hours before use.
The homemade chilli oil will last up to 6 months in the fridge.
Do not throw the aromatics away; instead use it as a base for Asian inspired broths like Miso or Ramen.


julie
fiery but very tasty chilli oil that adds just the right amount of flavour kick to dishes
julie
thankyou for the recipe , it smelt amazing while it was simmering , can’t wait to taste it tomorrow
Adriana Z.
you're very welcome Julie! I truly hope you'll enjoy it, it is a powerful flavour packed lil thing! Feel free to share the feedback once you tried and a rating will be very much appreciated!
Have a lovely week 🙂