Vegan Piña Colada Cheesecake
Questa ricetta è disponibile anche in italiano
This no-bake vegan Piña Colada Cheesecake recipe is decadent, rich and utterly wonderful. Try it if you want a delicious summery treat!

This amazing cheesecake isn’t too boozy (as the agar agar might not set if it were) which means that it will make the ideal cooling treat on a summer’s day. On top of that, it firms up easily and quickly to make an impressive dessert! Tasty!
How To Make Vegan Piña Colada Cheesecake
First of all, open the cans of coconut milk, and scoop out the solid part - which is the cream. Retain three hundred grams of the remaining liquid, which is coconut milk. Any extra makes a great refreshing drink to sip on while you’re cooking!
Place the coconut cream in a large bowl, and then add the icing sugar and a pinch of vanilla. Whip the mixture to stiff peaks - you might need to track down a hand mixer. Place the bowl into the fridge while we prepare the next steps.
Melt the vegan margarine in a microwaveable bowl for a minute at 400W - try out some different power levels on your microwave, 400W will usually be one of the lowest settings.
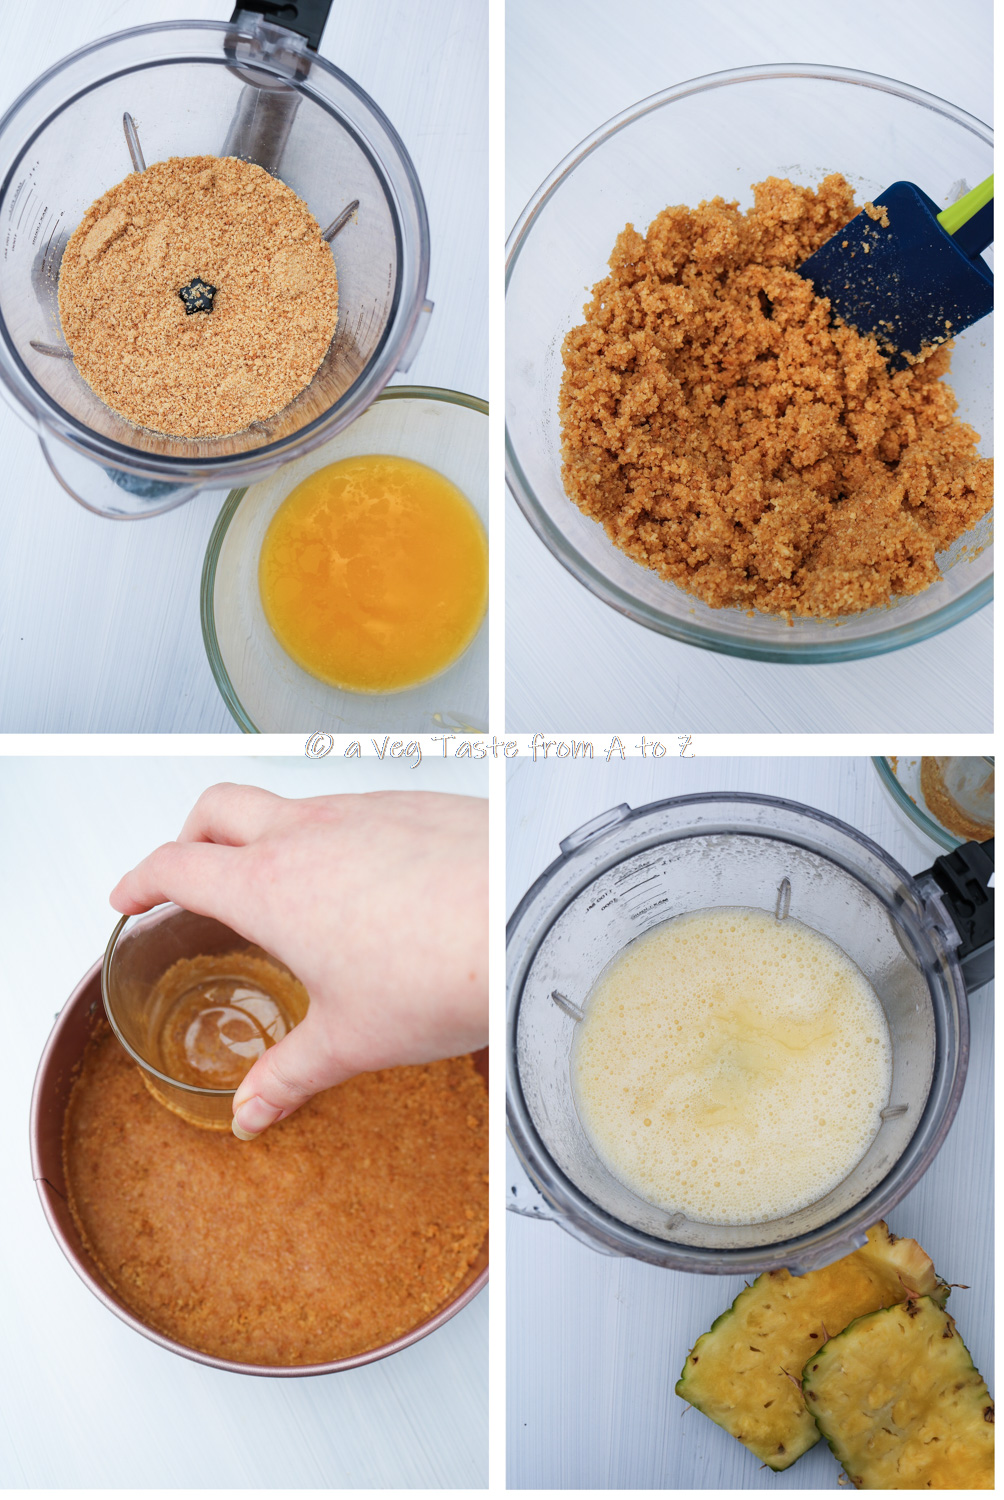
Meanwhile, place the biscuits into the bowl of a blender, and then blitz them until they’re completely powdered. Combine these crumbs with the melted fat, and make sure that all the crumbs are wet. Any dry crumbs will be the downfall of your cheesecake!
Now, line a sheet of parchment paper on the bottom of a 20cm/8in round hinged mold. Pour the biscuit mixture into the tin, and then press it flat with the bottom of a glass, or a similar implement. Place the tin into the freezer to set.
Roughly chop the pineapple pulp (you can include the core if you’d like), and add it to a high-speed food processor. Following it with three hundred grams of coconut milk, and a hundred grams of caster sugar. Blend the entire mixture until it’s smooth.
In a pan, add the agar agar powder, and a couple of tablespoons of the pineapple and coconut mixture to begin with. Dissolve the agar agar completely in the liquid, and then add the rest bit by bit until everything is well combined. Adding the mixtures together slowly allows the agar agar to fully dissolve, allowing it to activate properly once heated.
Put the pan you’re using over medium heat, and allow the mixture to gently bubble - do not stop stirring! Keep stirring for two to three minutes after the bubbles appear, and then turn off the heat and allow the mixture to cool, stirring every now and then. The more you cool it, the lighter the filling will be. However, the agar agar will mean that the mixture will begin to eventually firm up. To strike the right balance, move onto the next step when the mixture just starts to get firmer.
Pour a quarter of the pineapple and coconut mixture in the bowl with the whipped coconut cream before combining with a whisk. Add the remaining mixture in two or three parts. Finally, stir in the rhum, and the optional coconut essence.
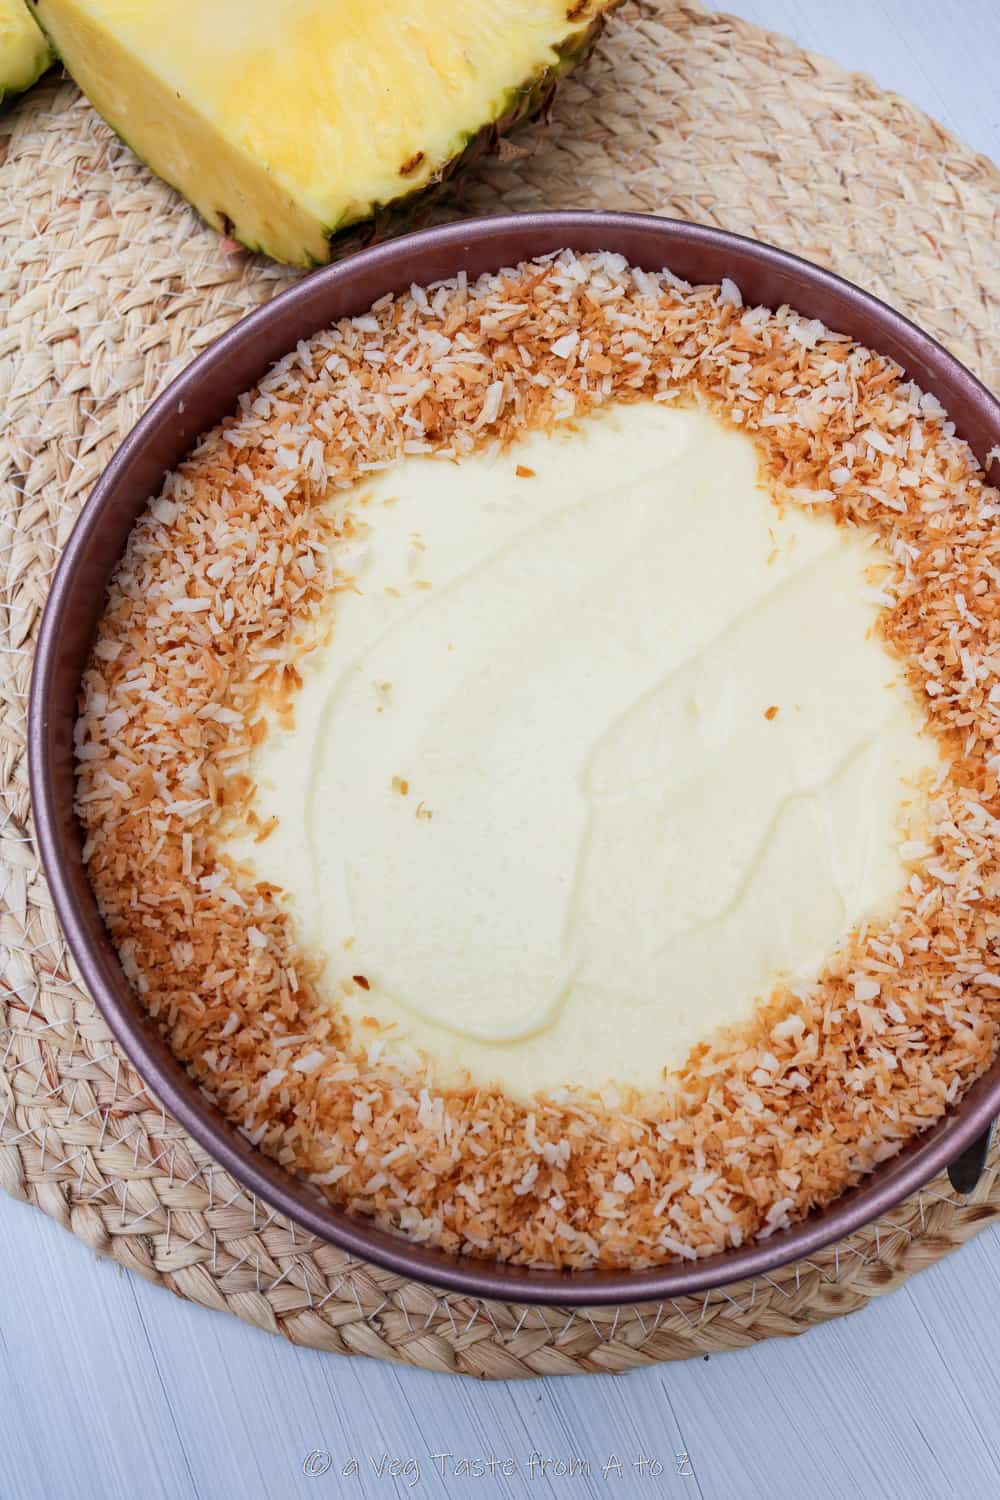
Pour the filling over the biscuit base, and level it well with a spatula or the back of a spoon.

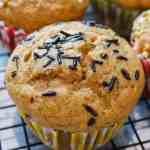
For decoration, you can toast the coconut flakes in a pan for a few seconds, until they turn gently golden brown. Then, sprinkle the flakes on the cheesecake while it’s still setting - perfect!
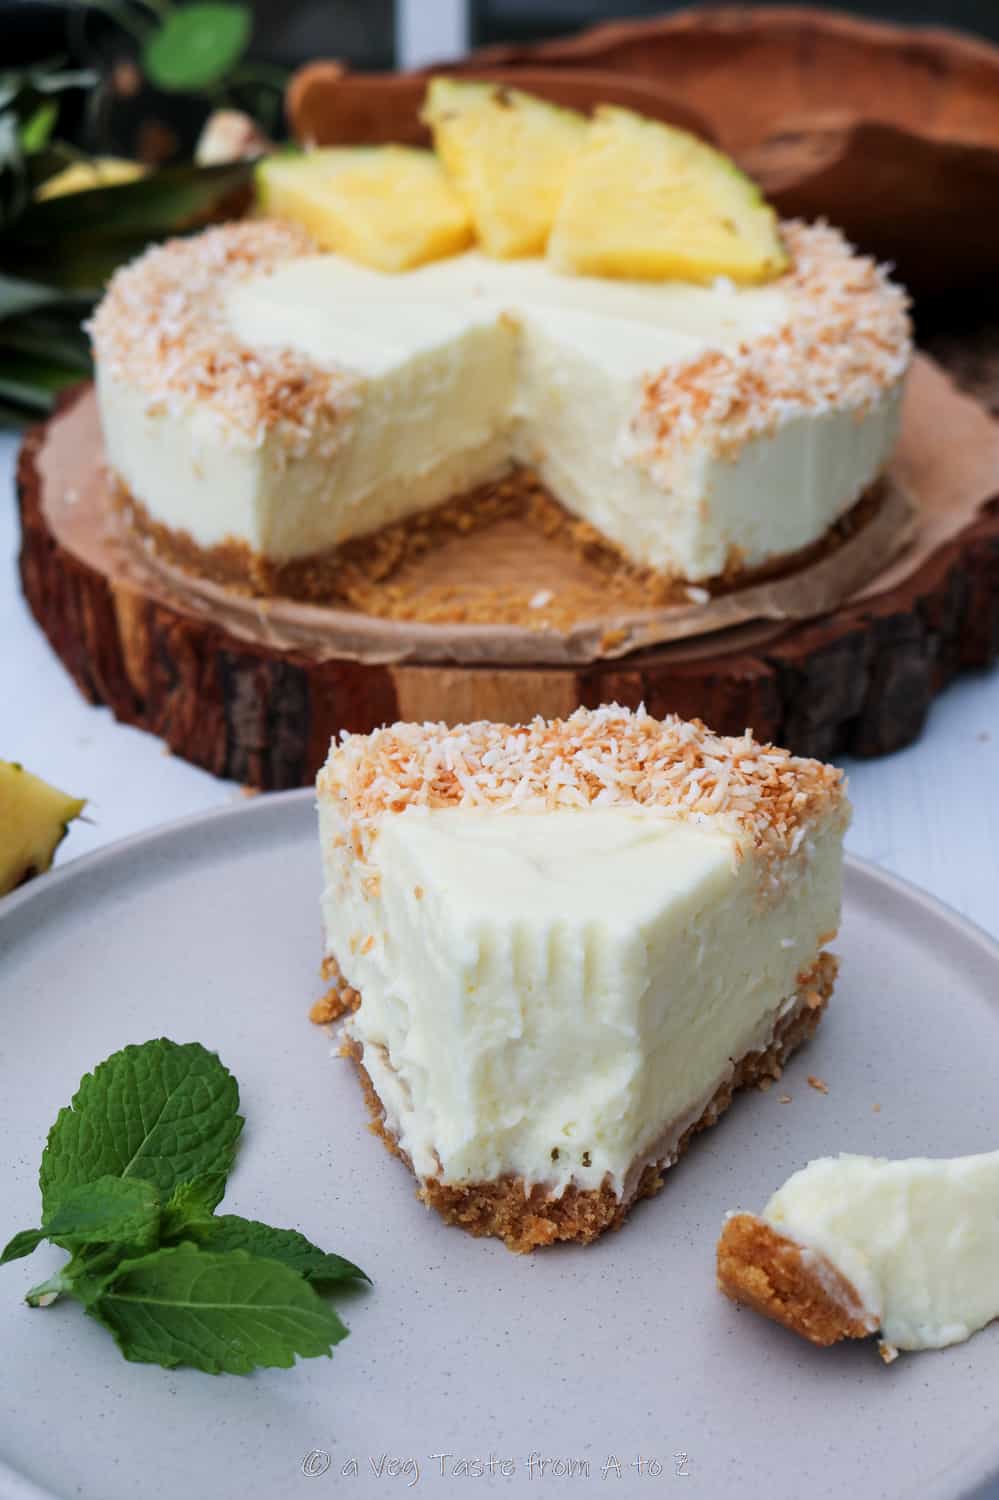
Transfer the cheesecake to the fridge, and hold it there for at least six hours before serving. If you need to speed the process up, place it in the freezer for an hour, and then the fridge for another hour after that.
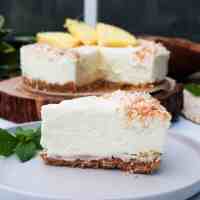
Serve the cheesecake up with slices of pineapple, and enjoy!
Vegan Piña Colada Cheesecake Recipe
Ingredients:
…for the base…
200 g Tea Biscuits
100 g Margarine (or Vegan Butter)
…for the filling…
2 Cans Coconut Milk* (Full fat, refrigerated overnight)
300 g Coconut Water*
200 g Pineapple (roughly half fruit)
100 g Caster Sugar
30 g Icing Sugar
3 tablespoon White Rhum
1 tablespoon (8g) Agar Agar Powder
1 teaspoon Vanilla Powder or few drops of Extract
½ teaspoon Coconut Essence (optional)
…for the decoration…
30 g Coconut Flakes
Pineapple Slices
Method:
1. First we will need open the coconut cans* and scoop out the solid part (cream) and keep 300 grams of the liquid (water). The remaining liquid can be used as a refreshing drink.
2. Place the coconut cream in a large bowl, add the icing sugar and a pinch of vanilla, and whip to stiff peaks. Place the bowl back in the fridge while we prepare the next steps.
3. Melt the vegan margarine in a microwave friendly bowl for 1 minute at 400W.
4. Meanwhile place the biscuits in a blender bowl and blitz till powdered.
5. Combine the melted fat and the ground biscuits until all the crumbs are wet.
6. Line a sheet of parchment paper on the bottom of a 20cm (8inch) round hinged mold, pour the biscuit mixture and pat flat with the help of the base of a glass. Place in the freezer to set.
7. Roughly chop the pineapple pulp (you can include the core too) and add it to a high speed food processer bowl along with the 300 g of coconut milk and 100 g of caster sugar. Blend until smooth.
8. In a pan add the agar agar powder and add only a couple of tablespoons of the pineapple and coconut mixture to start with. Dissolve the agar agar completely in the liquid, then pour more liquid, a bit at a time, until all well combined. This step will allow the agar agar to fully dissolve and activate once heated.
9. Transfer the pan over a medium flame and heat the mixture until it starts to bubble, stirring all the time. Keep stirring for 2-3 minutes after the bubbles appear, then turn off the heat and allow the mixture to cool down, stirring from time to time. The more you cool it, the fluffier the filling will be, however, because of the agar agar, the mixture will eventually start to firm up, so be make sure to move onto the next step when it just starts to get firmer.
10. Pour ¼ of the pineapple and coconut mixture in the bowl with the whipped coconut cream, combine with a whisk, then add the remaining mixture in 2-3 more times. Stir in the rhum and the coconut essence (optional).
11. Pour the filling over the biscuit base and level it well with a spatula.
12. For the decoration: toast in a hot pan the coconut flakes for a few seconds, moving the pan constantly, until they start to turn golden brown.
13. Sprinkle the toasted coconut on the cheesecake while it’s still setting.
14. Transfer the cheesecake in the fridge for at least 6 hours before serving. If you want you can speed up the process by placing it in the freezer for 1 hour and then in the fridge for another 1 or so.
15. Serve the Vegan Piña Colada Cheesecake with slices of fresh pineapple.
Notes: if you want you can sieve the pineapple and coconut mixture to remove pieces of unwanted pulp.
Please note, this cheesecake is not overly boozy and I do not recommend to add more alcohol to the mixture as the agar agar may not be able to firm up properly.
You can keep this dessert in the fridge for 4-5 days (in an air tight container).
For other vegan desserts also check:
- Easy Vegan Doughnuts
- Raspberry Vegan Trifle
- 2 Ingredients Persimmon Pudding
- Easy Lemon Pound Cake
– Vegan Black Forest Cake
- Cinnamon & Apple Pie
– Easy Vegan Tiramisù
– Deliciously Moist Rhubarb Sponge
– Brioche Swirl Cake
– Heart shaped Mini Cakes
– Carrot Cake with a Twist
– Fudgy Chocolate & Sweet Potato Cake Loaf
– Indulgent Chocolate & Raspberry Mousse
– Best Vegan Sticky Toffee Pudding
– Amaretto & Rhubarb Crumble
– Banoffee Pie
– Chocolate & Almond Fudge
- Chocolate Brownie Cake with Raspberries and Peanut Butter
- Cinnamon and Apple Crust Pie
- Raw Strawberry Tart
-Rhubarb Baked Cheesecake
- Zesty Lemon Cake
- Raspberry & Rhubarb Panna Cotta
- Choccolate Mousse Biscoff Tart


Niamh Townsend
Can I use coconut cream from and can instead if so how much of this will I need
Adriana Z.
Hi! You can indeed. Roughly the amount of cream you would get from a can of full fat coconut milk equals the amount of 1 can of coconut cream, hence you will need 2 cans of cream.
Hope that helps. Enjoy!
y
I made it yesterday and it turned out amazing ¡ It didn´t quiet look like yours (not as creamy because I put too much liquid), but it was light and the flavor was really good.
Adriana Z.
Hi there, I'm so pleased you're happy with the result! Thanks a lot for the feedback 🙂